
[PMKIN] Pumpkin Baking #2: Chocolate Chip Cookies
Bonjour everyone!
And welcome to my second entry for the Great Harvest Holiday!
Remember how I said I'm not a good baker? Well, let's make that a "I can't bake" because this is not just the recipe, but I'll also show you how it's not done xD *facepalm*
Also, I probably shouldn't have done it today because there's a lot that went wrong today with that recipe (one ingredient especially) and I always kept forgetting making images. But to compensate that, I made a gif for one step :3 (Totally a compensation, I know)
But to defend myself, this is my first time with the recipe as well. I only saw my friend do it once before, so bear with me qwq
(Edit: I didn't do this "today", but somewhere around the 10th)
Recipe #2:
ᏢᏌᎷᏢKᏆN ᏟᎻᏆᏢ ᏟᎾᎾKᏆᎬᏚ
Just a heads up, this recipe will have several parts because it is way more detailed and complicated than the first and is overall just more that needs to be done.
Also, this is a 48-hour recipe.
Part One: The Toffee
Since this is a recipe that takes reaaally long, we're also doing more stuff on our own. For example, the toffee!
Toffee in itself should be easy because as the granola bars, it needs just 3 ingredients:
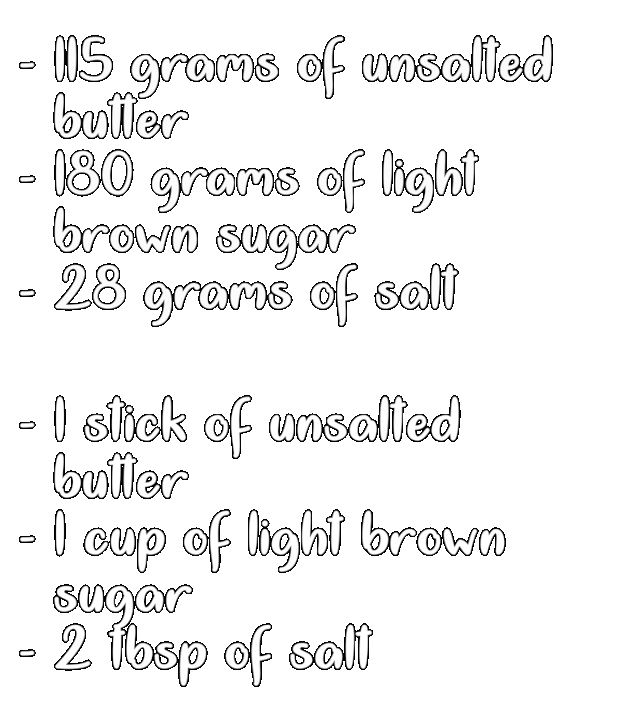
But there is a small catch already. The brown sugar I used was NOT the right one. I used demerara sugar/unrefined brown sugar (basically the first brown sugar I saw), but it's too coarse and it had way too few molasses.
The sugar you're looking for is one 𝘵𝘩𝘢𝘵 𝘬𝘦𝘦𝘱𝘴 𝘪𝘵𝘴 𝘴𝘩𝘢𝘱𝘦. When you use a cup and put it into your bowl, pan, or whatever, it *has to keep the shape of the cup it was in*. That's the right sugar
Ahem, anyways-
Step 1:
You'll need a pan (any is fine). Put it in the stove and add butter, sugar, and the salt.
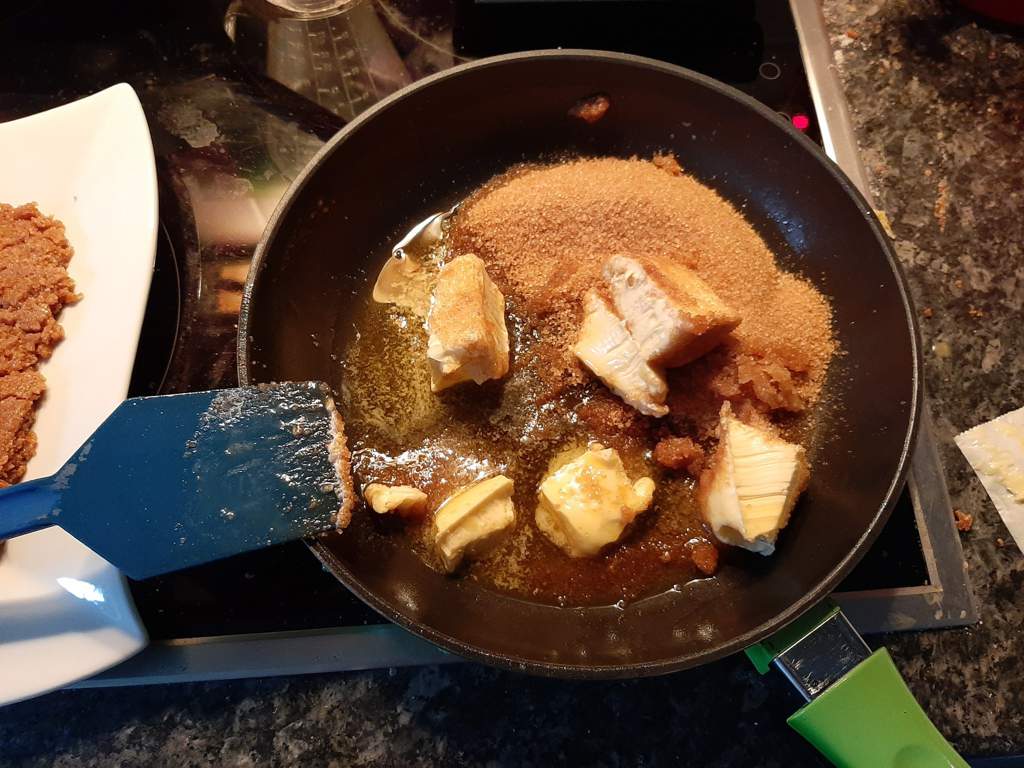
Then, heat it up until they all mixed and became one smooth paste. Make sure to give it a good stir. It should drop from your spoon once it's ready. Also - if you're having a baking thermometer, use it to keep track of the heat of the toffee because once it reaches 150°C (302°F), it's done.
My first attempt didn't work - the sugar didn't dissolve, it probably was also too hot, and the butter and sugar didn't mix at all. So I put it on a plate (without baking parchment) and started a second try.
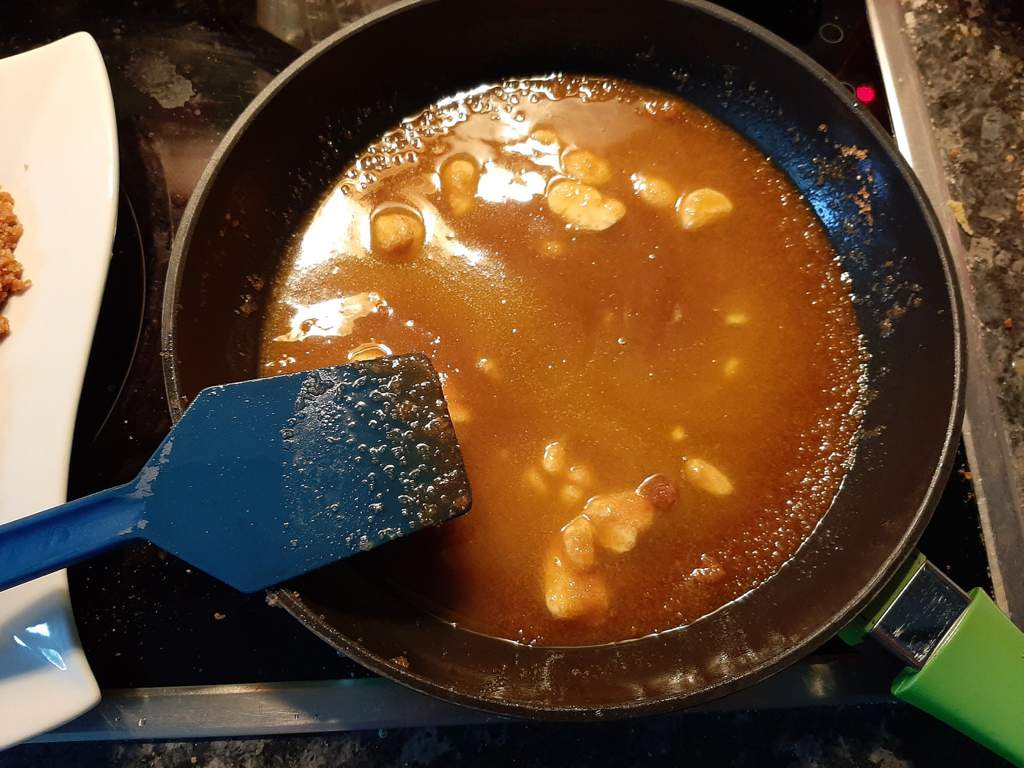
Butter flakes are still visible, but they dissolved in the end.
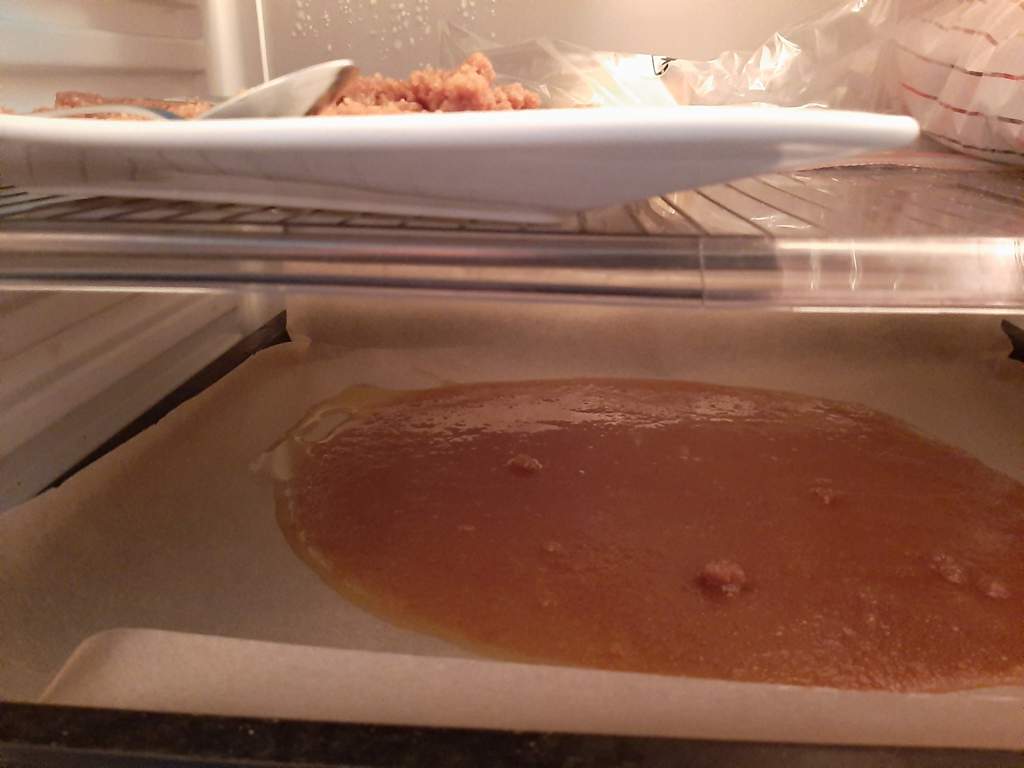
Once your toffee is done, you take a baking sheet and put parchment paper in it. Then, you'll drop the toffee there and off it goes into the refrigerator.
It should cool down for at least 20 minutes.
Step 2:
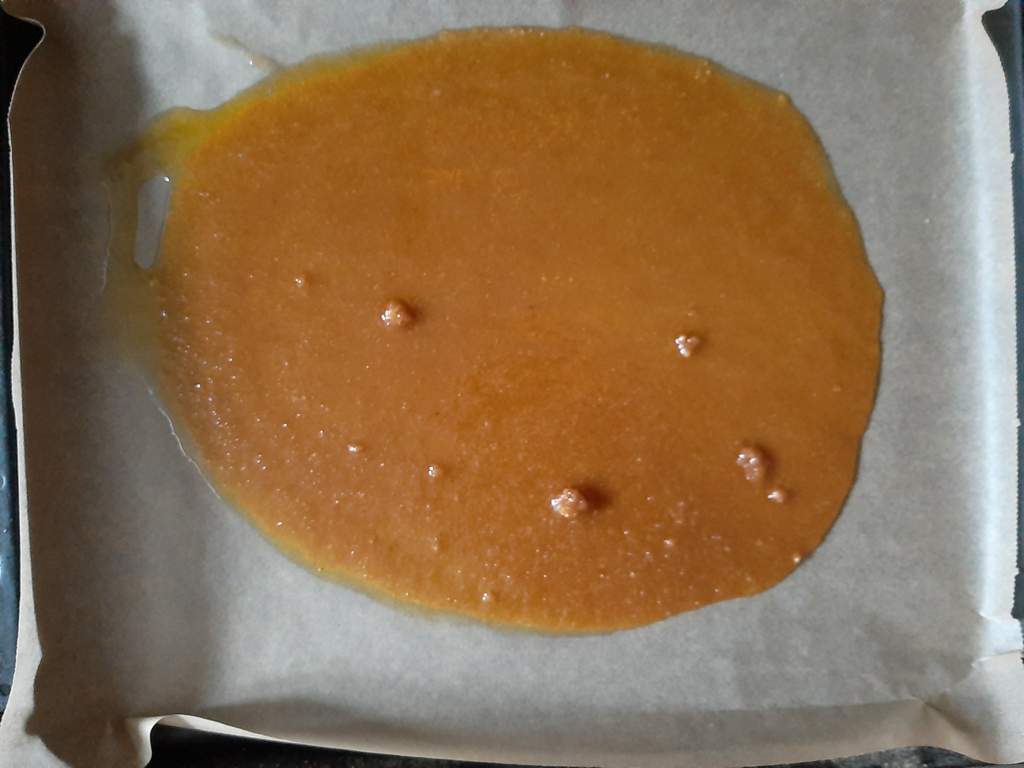
before the refrigerator
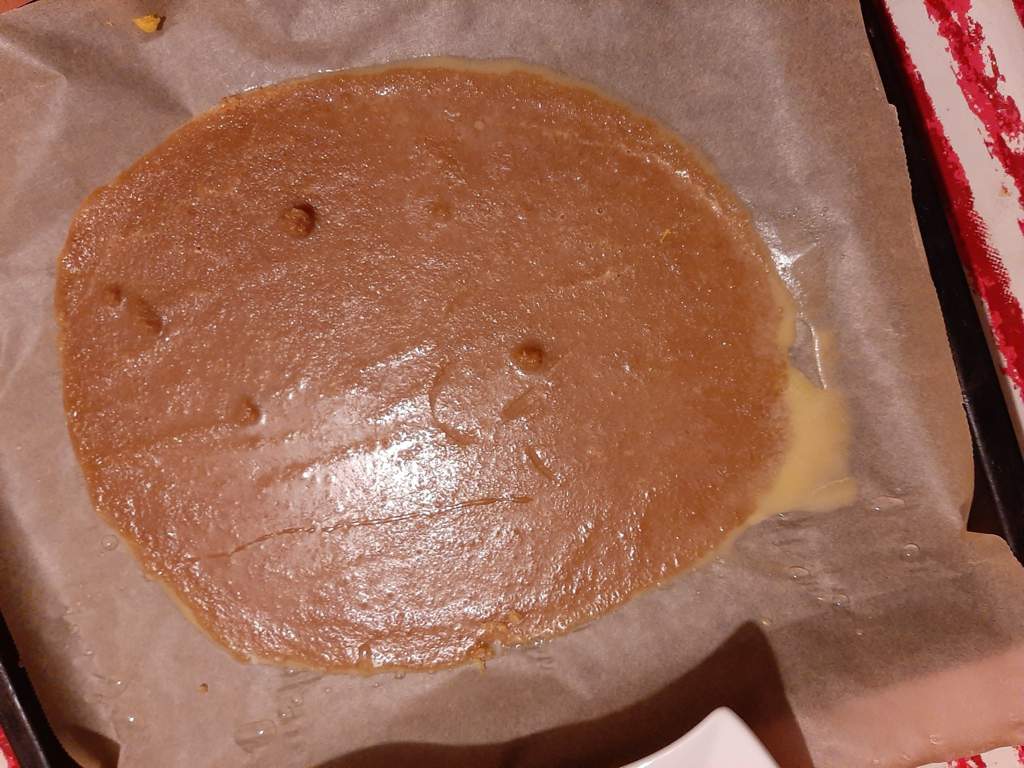
after the refrigerator
Once those 20 minutes are over, you take it out of the refrigerator and make sure, you're not doing this on a Sunday becaaaauuuseeee...
You smash it! :D
Smash it into tiny little pieces. And that's going to be loud.
I don't have any pictures of that because...
Heheheeee...
I did say I was a bad baker, right?
Well.... the second attempt was still not hard, even though it wasn't just 20 minutes, but even 40 in the refrigerator, so I didn't use it.
And the first attempt was actually perfect! But because I am so clever and didn't use a parchment paper, it was stuck to the plate and it took me some time to get it off. (So, always use parchment paper!)
But it was too thick anyways and because of that, it couldn't be really smashed and eh.
So, I ended up not adding toffee to the dough at all. But the toffee tasted great in both attempts.
Part Two: Flavors
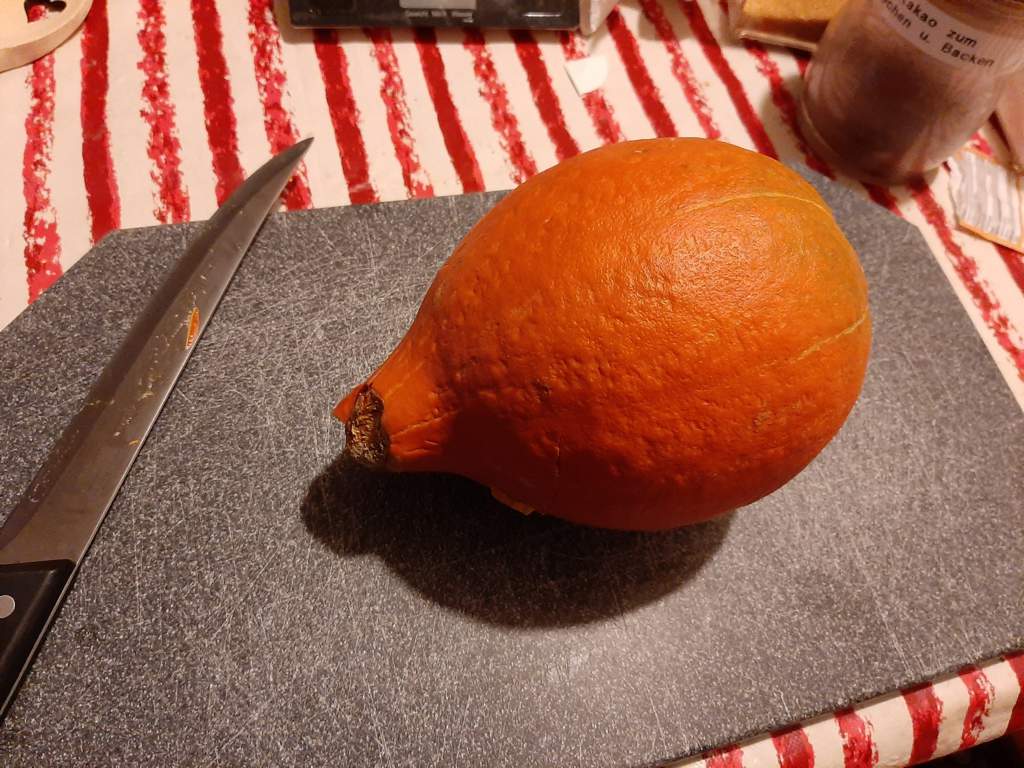
This is a really simple thing (and part of it is actually done later lol), but I wanted to add it here now. Since these are originally chocolate chip cookies, the other flavor/main ingredient is obviously chocolate, but these are pumpkin chip cookies, so these will contain pumpkin as well:

I used just one pumpkin, but you can use as many as you want.
Step 1:
You can actually start on this, while we wait for the toffee to harden.
Cut them into cubes. The size is up to you, but even bigger cubes are okay, since they soften up in the oven later on ^^
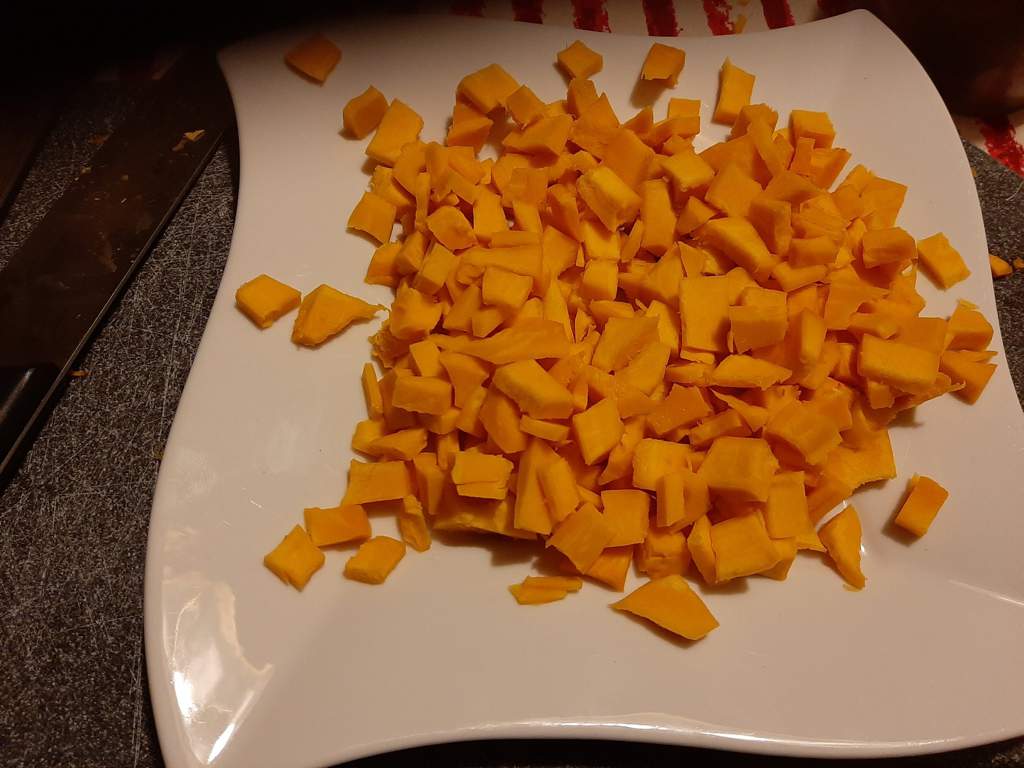
This is how I cut mine. They're medium-sized.
Also, stupid me cut the paring away, even though I didn't have to.
Step 2:
Next up is the chocolate.
In the original recipe, chocolate with at least 70% cacao is recommended, but that's totally up to you.
Because I don't have 170-gram-bars at the stores, I had to use 2 bars: one had 70%, the other 45% cacao.
Now, take out your bar (or bars), place them neatly on a tray and s̶m̶a̶s̶h̶ t̶h̶e̶m̶ x̶D̶, nah, you cut it into tiny pieces.
I recommend cutting it diagonally. That'll give you more unique pieces and it's also more fun lol
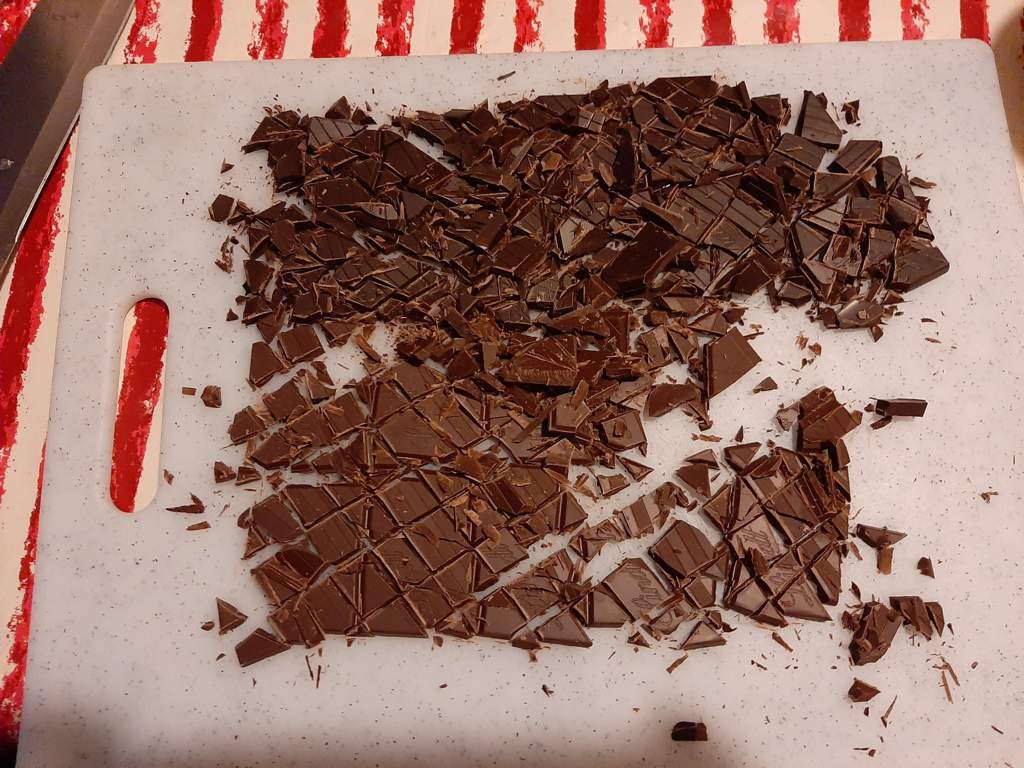
Once both are done, put them aside for now.
Part Three: Brown Butter
Okay, Imma be honest here now - I have no idea why it has to be brown butter, buuut... we're gonna follow the recipe. (An ironic thing for me to say xD)
Ahem, anyways, for making brown butter, can you guess what you'll need?
...
Margarine! XD
Though actually, butter isn't the only ingredient :0
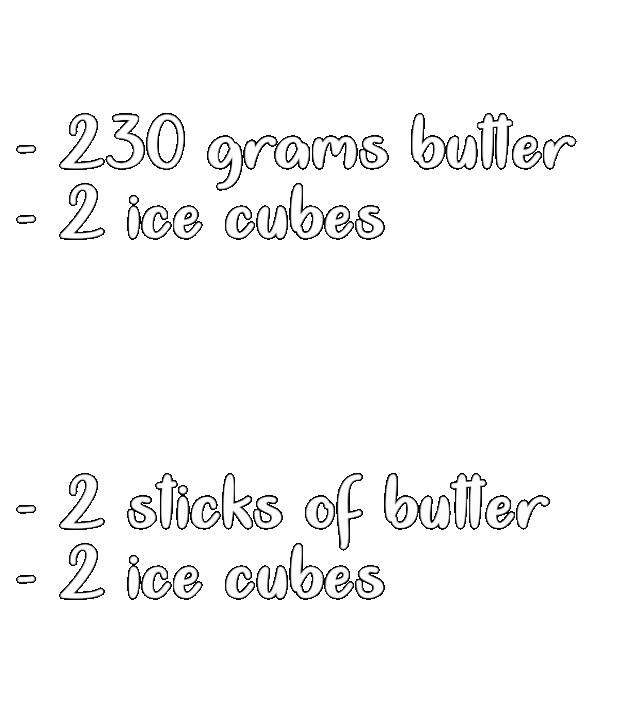
While part 2 can be done somewhere during part 4, I actually recommend you do this before you start on the dough, so that the butter has more time to cool down.
Step 1:
Throw in butter and heat it up.
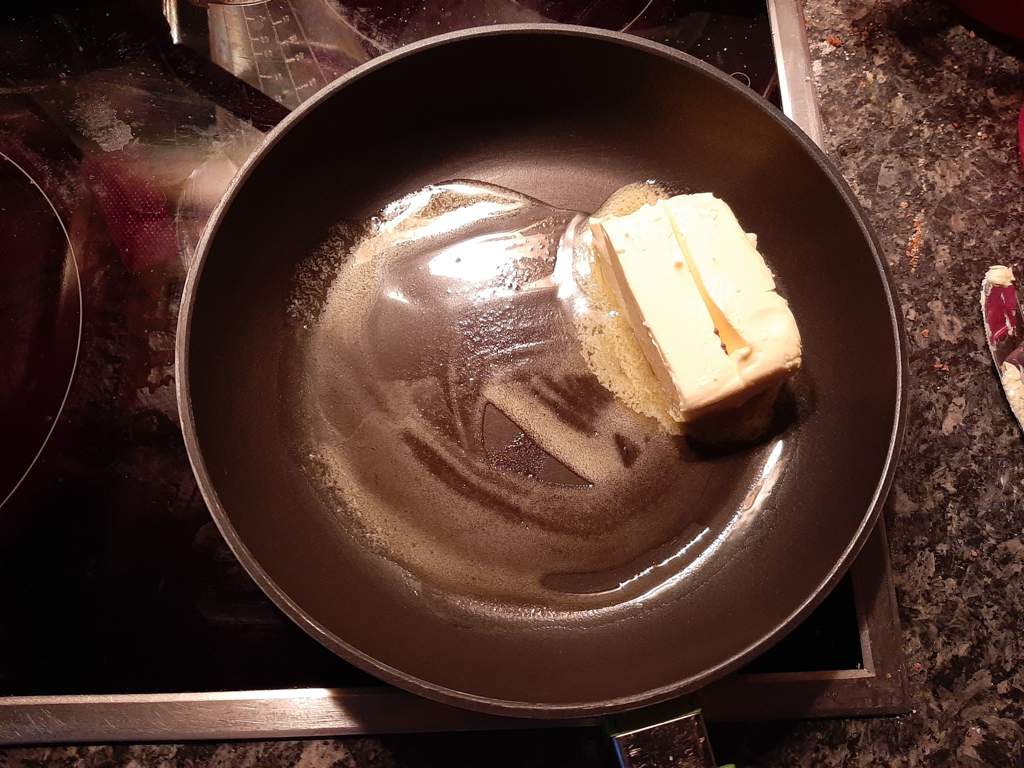
Crazy, right?
Step 2:
Once the butter is brown, you'll take it off the stove somewhere colder and add the 2 ice cubes. Because all the water evaporated from the butter and it needs it back.
(I still dont know why though.)
Anyways, I actually did a gif about how I made my butter "brown" and added the ice cubes:

This is not a gif I know. But Amino said the gif was too large. How dares it say that 15MB is too large for a gif?! Evil! :0 XD
Nah, it really is big and I knew that lol
Usually, if a gif is too large, Amino won't allow you to select that gif in your gallery, but if you select said gif via the preview option, you can get around that and that was what I was trying to do lol
By the way, just ignore that I poured something else in the butter. That was just some leftover butter from the first toffee attempt that didn't mix with the sugar.
And if you're curious - the gif is 8 seconds long; the original video was about 8 minutes.
Also - that butter isn't brown. Trust me, you'll see when it's brown.
So, apparently, butter becomes brown when it's heated too much. I didn't know it back then though.
I did this recipe a second time (cuz of my mom xD She was like "when u make new cookies? Me need cookies. COOOKIIIIIEES!" XDD) and that's when my mom told me that butter becomes brown when it's too hot for it.
So, heat the your pan as much as you can and then keep stirring until it's brown.
And here's why you should do this before making the dough: if you do this when you would have to add the butter to the dough, the butter is too hot when pouring in (or you'll be forced to take a break) and it will caramelize the sugar in the dough.
Part Four: The Dough
Finally xD
And now to the heart of the cookies: the dough
This is what you'll need for it:
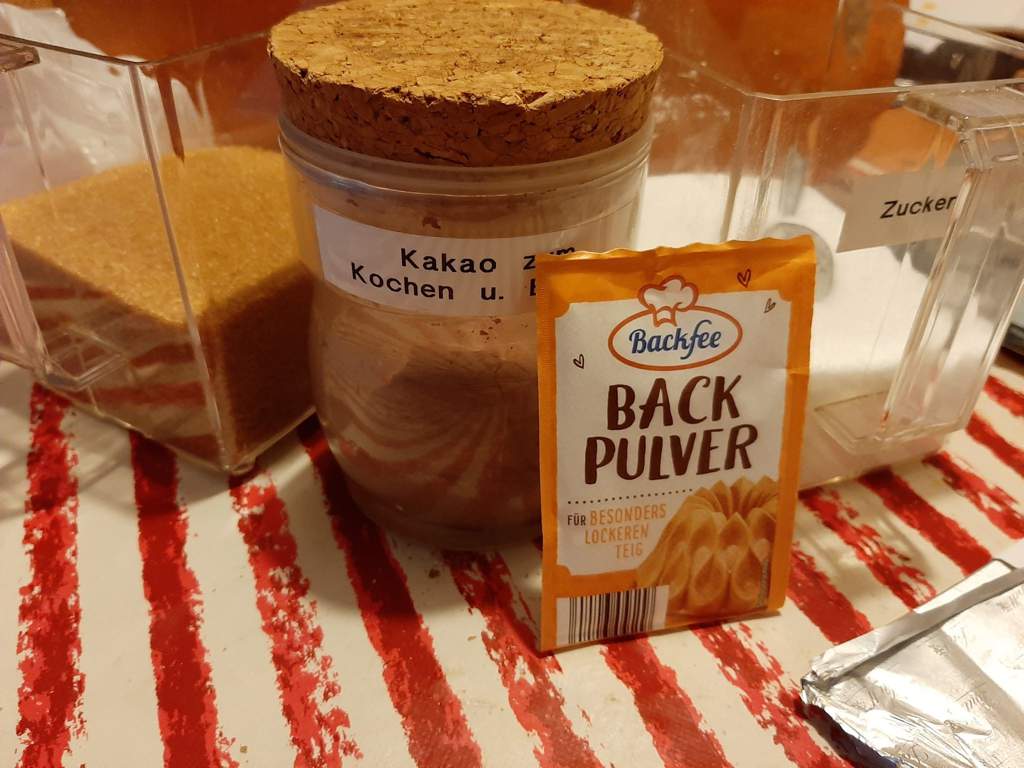
this is just a part from the ingredients - idk why I didn't take a picture of all dem ingreds
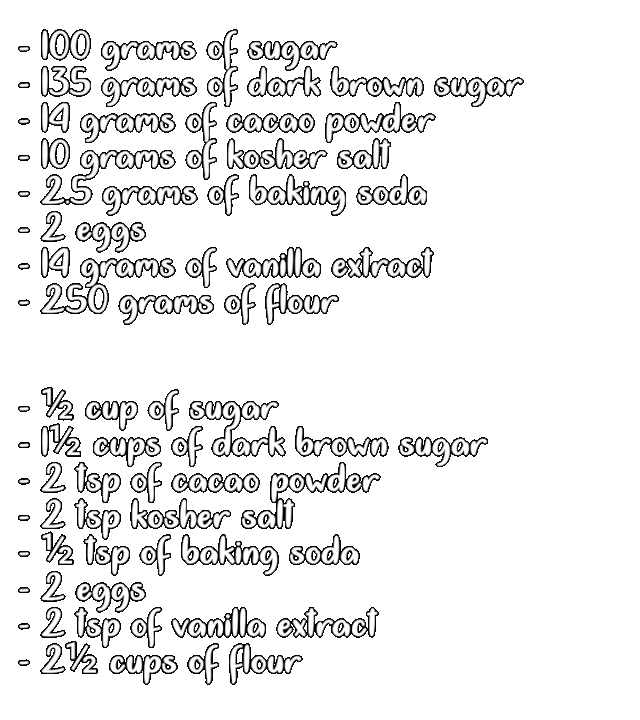
The original recipe uses espresso powder instead of cacao powder, but I don't like coffee, so I changed it. (Coffee doesn't belong into cookies >:0)
Step 1:
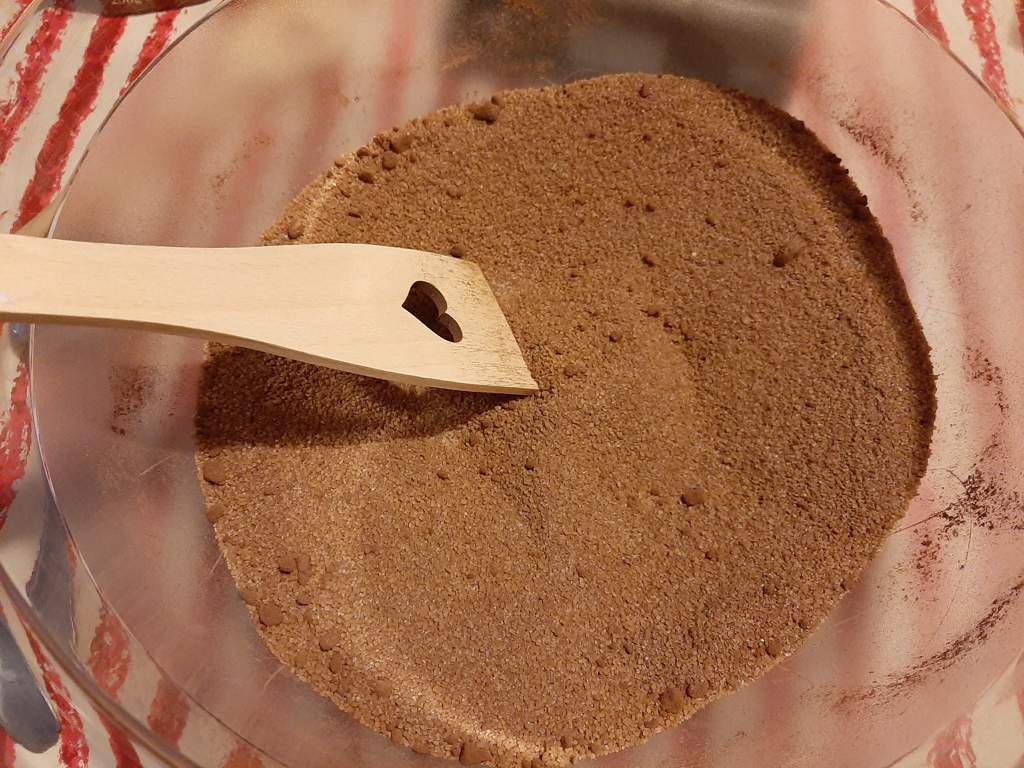
So first, you mix up both sugar types with the cacao powder, the salt, and the baking powder in a bowl.
Step 2:
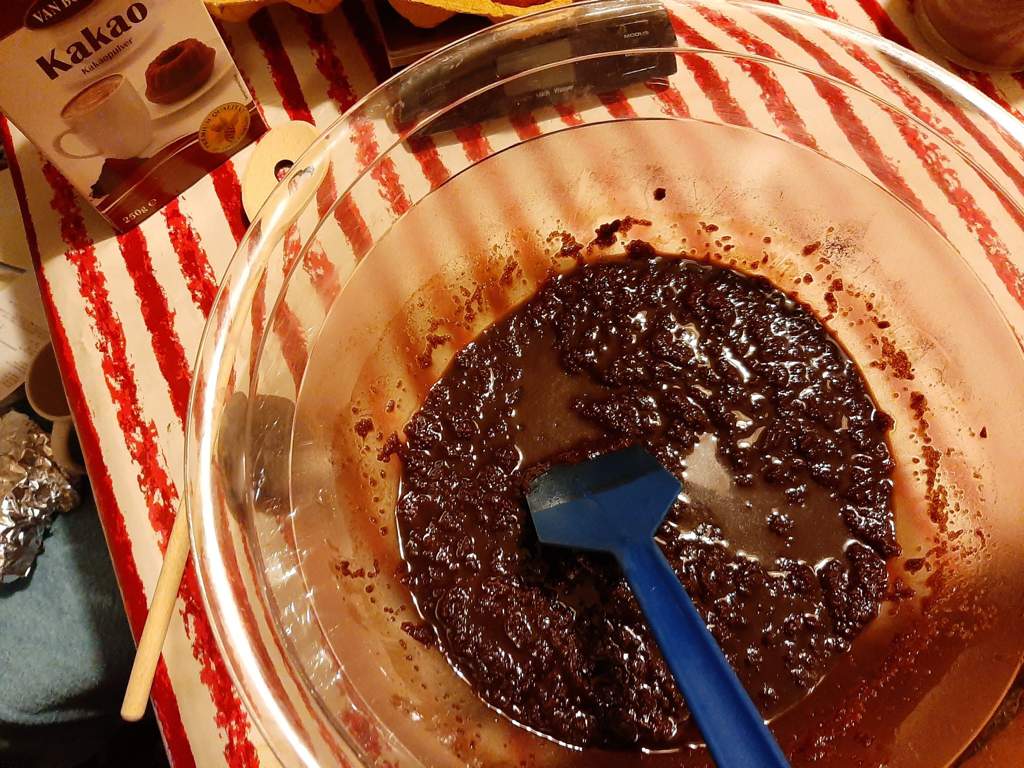
Now we add the wet ingredients.
First up is the brown butter. Hopefully, it has cooled down by now uwu
Mine was pretty much cold because it wasnt really hot in the first place and I also brought it into another room, so... yeah.
Put to your sugar mixture and stir it until it's one smooth paste. It should rather easily drop down from your spoon.
Mine didn't, but it still was delicious afterwards, so it's not bad if it doesn't.
Once it's all mixed, the vanilla extract and the eggs are next. I know I said an exact amount of the extract, but in the end, it's up to you.
When I did the cookies for the second time, I accidentally added way too much extract (about ⅓ of the small bottle ^^"), but ironically, you didn't taste it in there. You did taste the less extract in the dough of the pumpkin cookies though.
Step 3:
Now, it's time for the last dry ingredients before you add the flavors.
Add the flour!
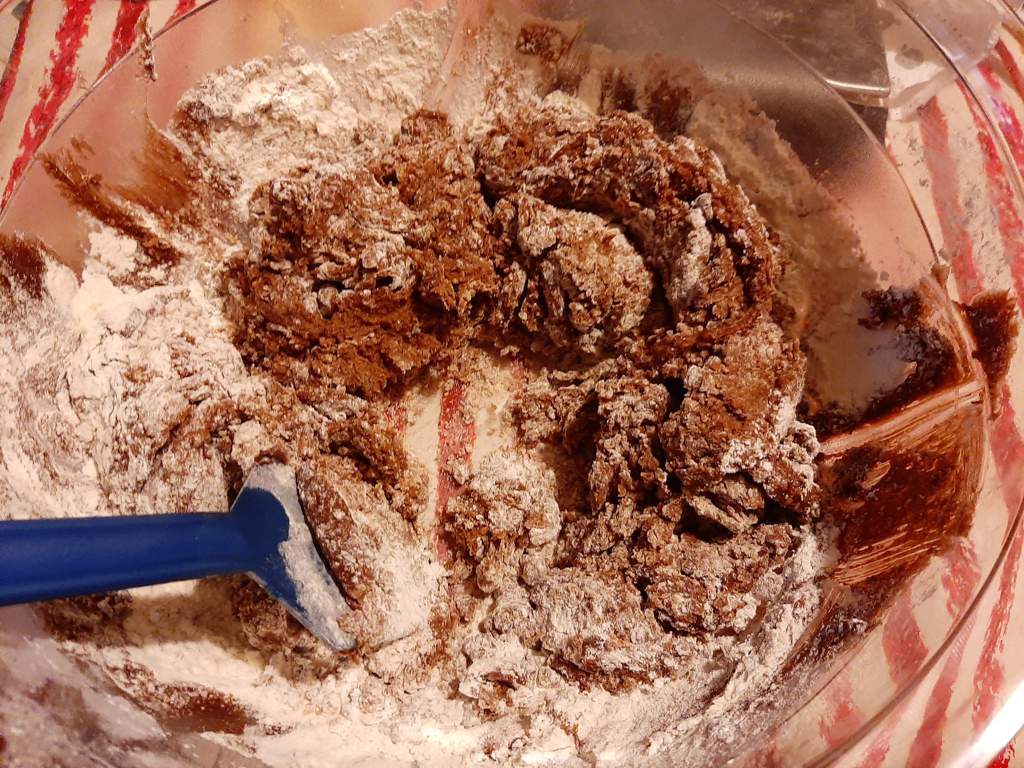
The dough shouldn't be too stiff, but a bit variation doesn't matter.
Step 4:
And it's time for the flavoooooor! :D
It doesn't matter which flavor you add first; I started with the chocolate.
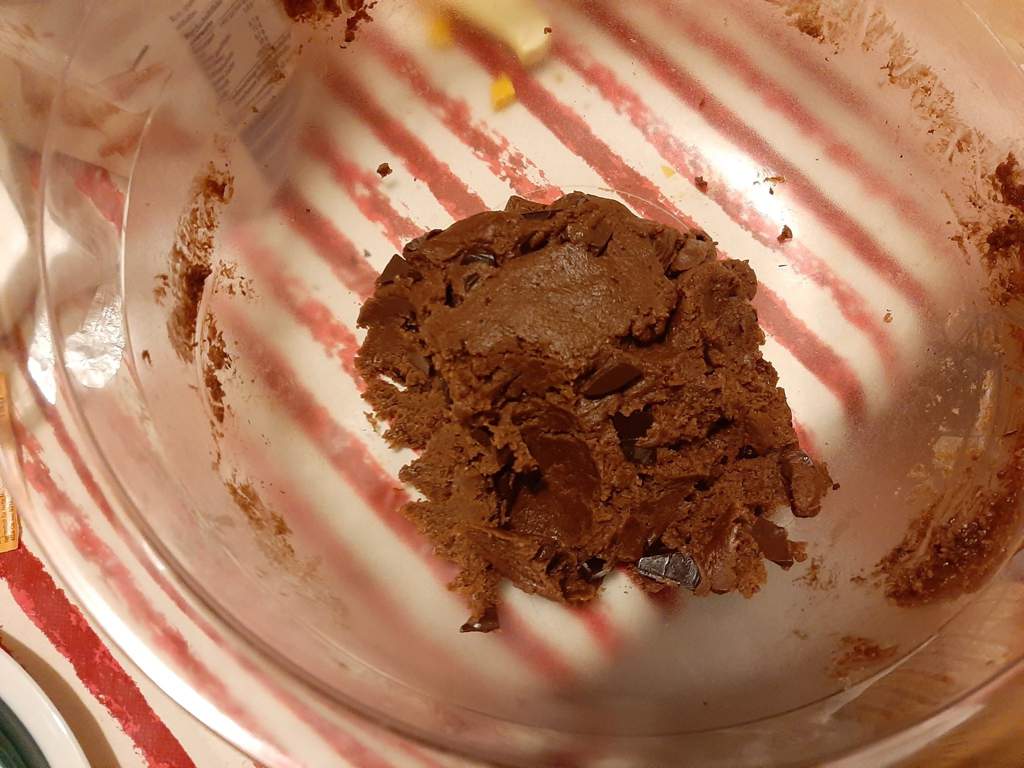
This was the point where I lost most of my dough xD
I know this sounds shocking, but I just lost it to my family because I made the mistake to have them try the dough and then they came back for more and more and more.... xD
It really was a super delicious dough though *^*
After that, I then added the pumpkin to keep them off the dough lol
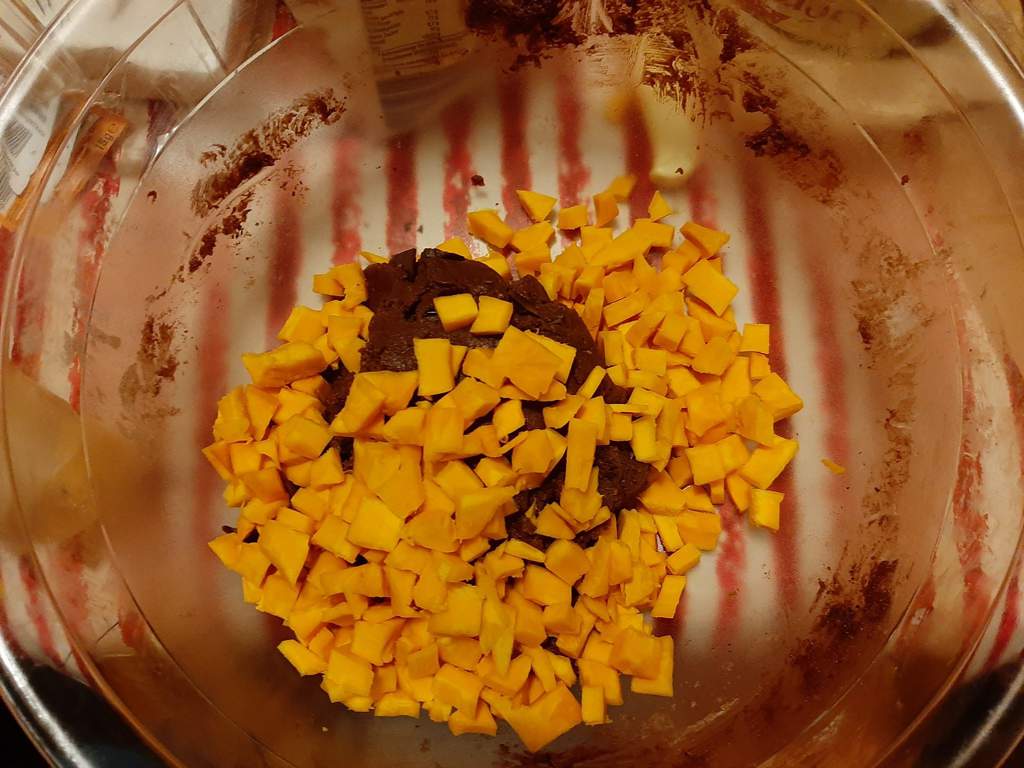
Once the dough is done, get yourself a plate or two (or a baking sheet if you have more than one) and put parchment paper on it. If you have a ice scoop (not the one you can eat, but the tool for it), use it to make balls of your preferred size. If not, just use a spoon, but I have to admit, an ice scoop is the better choice.
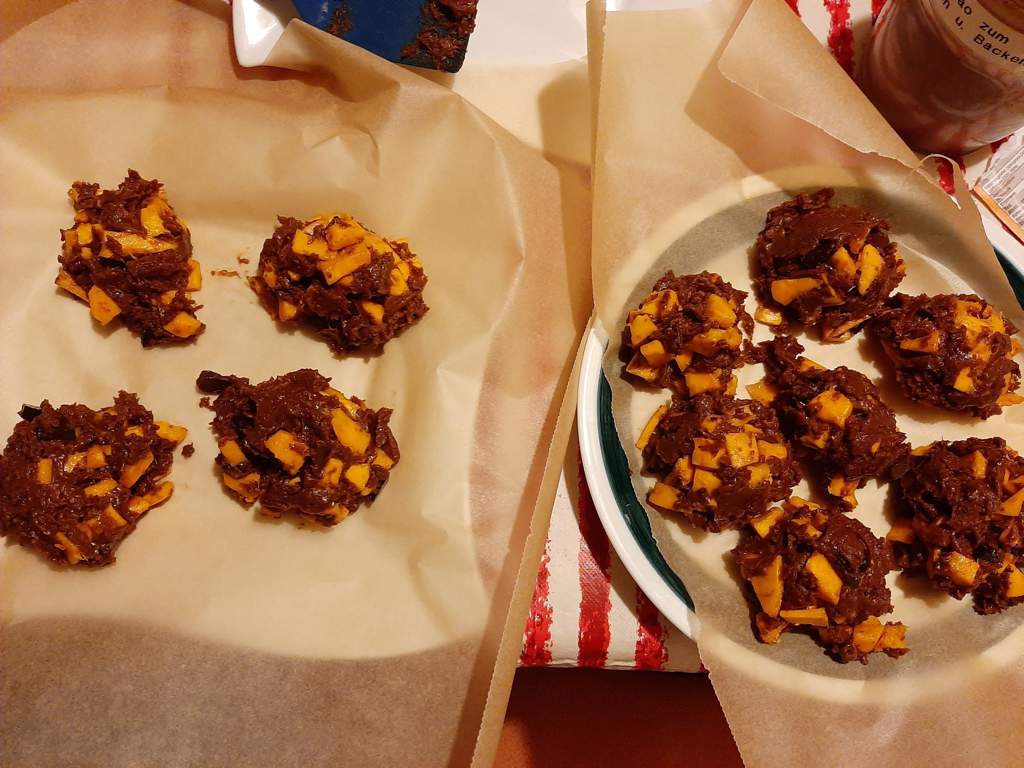
Once you're all done, cover them with cling film and off they go in the refrigerator.
For 48 hours. ^^
This is to enhance their flavor and to harden them, so that they are like typical American cookies: hard on the outside, but soft on the inside.
Part Five: Actually Making Them
Yes, I gave this section its own part and that is only because the cookies have to rest for 2 days. To show how time has passed, so to say lol
Step 1:
Get yourself your baking sheet - if you haven't already used one - and put parchment paper on it.
Preheat the oven on 150°C (300°F) and take out the cookies.
The dough color should be a lot darker now and they should've hardened. They may still be soft at the bottom, but that's only because of the pumpkin's liquids.
Put them on the baking sheet, but make sure that they have enough space around them. Think of it as a Corona measurement:1.5m distance to everything xD
Just that it's not 1.5m, but way less. 6 is always a good number for one sheet.
Put them in the oven for about 20 minutes.
Step 2:
Enjoy!
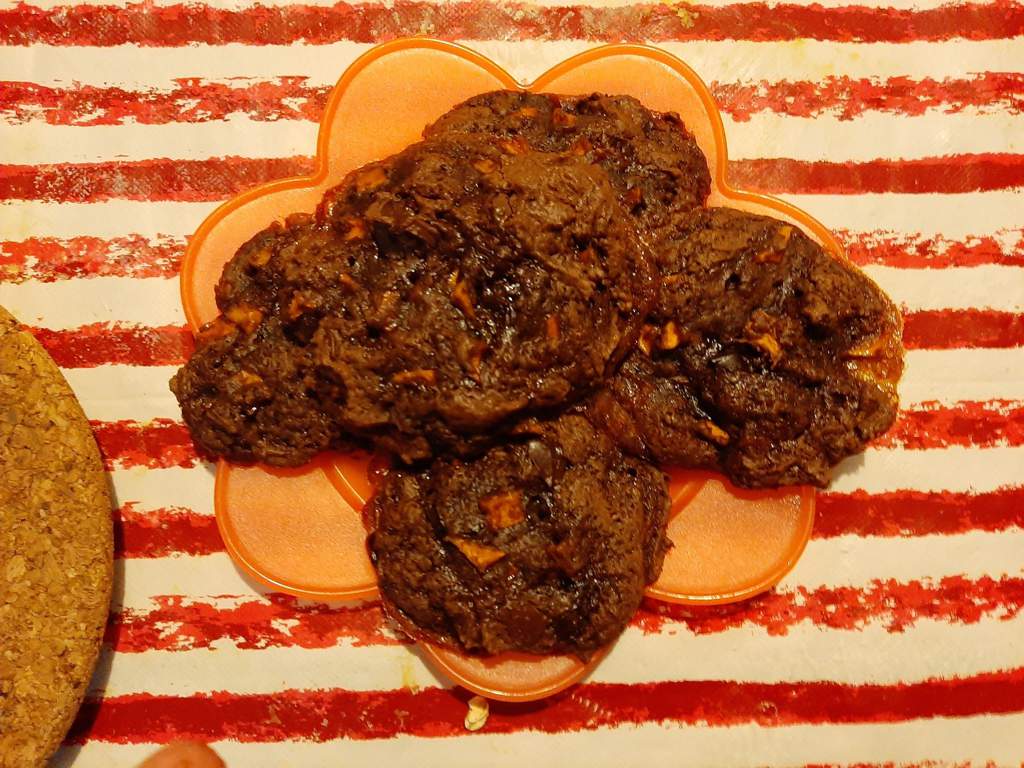
They are absolutely delicious!
I'd say they're worth trying even more than the granola bars because they're sweeter in taste :3
~~~
#TGHH2020 #WaterBakes
~~~
Submitted By MysteriousShine
for The Great Harvest Holiday Challenge 2020
Submitted: 2 years ago ・
Last Updated: 5 months ago
![Click to view larger size [PMKIN] Pumpkin Baking #2: Chocolate Chip Cookies](https://grifixverse.com/images/gallery/1/1801_Stp3A9dCrd.jpg)

